Saturday, February 19, 2011

It's a boat time!


No, I'm not Canadian...  But, it is about time, eh?  I am so happy this thing is finally done!  In the end, I've got a 15 foot boat that should be able to handle some fairly rough water. 

 Remember the front end where the gunwales came together?  Remember it looked like crap?  Well, here's the result.  I cut a little piece of wedge shaped wood in the middle and glassed it in.  I think it turned out okay.


 I used 16 foot lumber designed for deck material to make the gunwales and spray rails.  Lori said I should leave the natural wood grain and I have to say she was right.  It looks really cool with the wood showing.  I just painted them with the epoxy resin to protect them.   I decided to show the wood grain on the seats too.  Let's everyone know we've got a homemade boat.  Now comes the interesting part...  I've got to convince the North Carolina Department of Transportation that Lowe's Home Improvement sells pre-assembled boats!

Here are the lessons I learned while building this boat:

1.  Building anything out of fiberglass in the winter is a mistake unless you own a distributorship that sells propane and propane products (veiled King of the Hill reference).
2.  Power equipment and loose fitting clothes don't mix.  I had a great vest given to me by my in-laws that was eaten by my belt sander.  I barely got away with my life.
3.  When you breathe wood dust, you end up with wood boogers!
4.  When you breathe fiberglass dust, you end up with fiberglass boogers!
5.  When you breathe fiberglass resin, you end up high!
6.  When you breathe fiberglass resin and drink Killians you end up really high!
7. Cats eat corn.
8. True friends are the only ones that will help you sand.
9. Wood boats leave splinters...  Lots of them!
10.  If you sit a belt sander down before it stops, it will become an effective shop missile.  No really!!!!

I think this will be my final boat blog, but keep watching because I enjoyed this process and I'm sure I'll have more projects to follow.  So, stay tuned. 
Cheers,
Dennis  

Saturday, February 5, 2011

Side Splitting Fun

Well, we finally installed the gunwales (pronounced gunnels).  Gunwales are the tops of the sides.  I went to my favorite marine store, you know, Home Depot.  I bought two 16 foot boards that are used for back yard decks.  I ripped the wood to about 2 inches X 16 feet.  Then, I cut a grove in the bottom that is a little over one quarter of an inch wide and about an inch deep.  

Fitting these things was a trick.  It was a two man, I mean two person job for sure.  My lovely bride dropped her quilting project and helped me fit these fiddly bits.  Thanks Lori!! 
We first fitted them and made the cuts in front and back.  Then, we mixed up some epoxy flox and put it in a ziploc bag.  We cut a small hole in one corner of the bag and then shot the mixture down into the grove.  Once we got it down on the sides, some of the mixture squirted out. 
The only problem we had was a small split on the left rear.  Not to worry, we can fix it with fiberglass.

I know what you're thinking...  You're thinking this joint looks like we were a little tipsy when we fitted it.  Now, it may look a little disappointing, but I think we can make it look better.  Tune in next time to see if we can salvage it...

Thursday, January 27, 2011

El Diablo es rojo


That's right!  The Devil is red.  In this case, the design name of the boat is the "diablo", so I have no choice but to name it El Diablo Rojo (The Red Devil).  I have a confession...  I made a strategic error.  It's no secret that winter projects are a great idea, but a winter project involving fiberglass is ill advised.  Now, I have heat out in the shop, but when the temperature outside is in the 20s and I need the heat inside to be in the 75 to 80 degree range, the price of propane is getting to be prohibitive.  We're burning about $100 a week, ouch!!  So, I decided to quit trying to get the outside of the boat perfect.  Instead, I am now convinced that its good enough.

The fiberglass just would NOT cure enough to be able to sand it effectively.  When the sand paper would hit it, instead of turning to dust, it would just roll up. 


So, here was part of the solution.  Now kids, don't try this at home.  I have never, I mean rarely, uh only occasionally blown things up in the shop.  So, to get el diablo muy caliente (hotter) I decided to put the Coleman stove under the boat and fire it up.  It worked, but only partially.  The good news is that the resin vapor did not ignite thus blowing El Diablo to you know where:~)  

So, I decided to cut my losses and slapped on some paint.   My arrow slinging doctor friend says, "It's okay, you're not going to fly it."  But, he's never ridden in a boat with me while I was driving:~) 

I need to be done with this project by 1 March so we can be on the river for shad season.   There is a lot of work ahead.  Next step is to add another coat of paint on the outside, then flip it and get started on the inside.  I need to hurry with this project, I've got another airplane brewing in my head...

Saturday, January 8, 2011

More than one way to skin a cat... I mean uh, a boat!

So, my arrow slinging doctor friend came over to help with the boat.  His son, the stunt boat driver came with him to lend his recent experience.  They helped me lay the outer skin of fiberglass on the boat.  I couldn't have done it without them.  Thanks guys! Here's what we did...


First, we painted the side panels with fiberglass resin.
Next, we laid the fabric into the wet resin.  Then, we added addition resin slowly moving from the back of the boat to the front.  We let the excess fabric simply hang over the edge.  I'll worry about trimming it once its cured.
Once those guys left I looked at the progress we had made.  I was so impressed with the way the bow turned out (because the fabric overlapped there) that I decided to go ahead and finish the transom (back end).  So, its now officially a fiberglass boat! 
Join us next time when we'll have great fun sanding!!  Oh yeah!!!

Saturday, January 1, 2011

Question: Is it a wood boat or a fiberglass boat? Answer: Yes

Random thought:  Woodpecker lips are harder than Chinese arithmetic.  No, it has absolutely nothing to do with this post... 

Well, the wood working is just about done, but the fiberglassing is only just beginning.   Lori and I had to drive to Washington NC the other day to get more resin, hardener and filler.  This was almost $200!  What?  This stuff works great, but it's crazy expensive. 
So, I taped the seams on the inside.  Again, the green fabric is peel ply, so it comes off when everything dries.

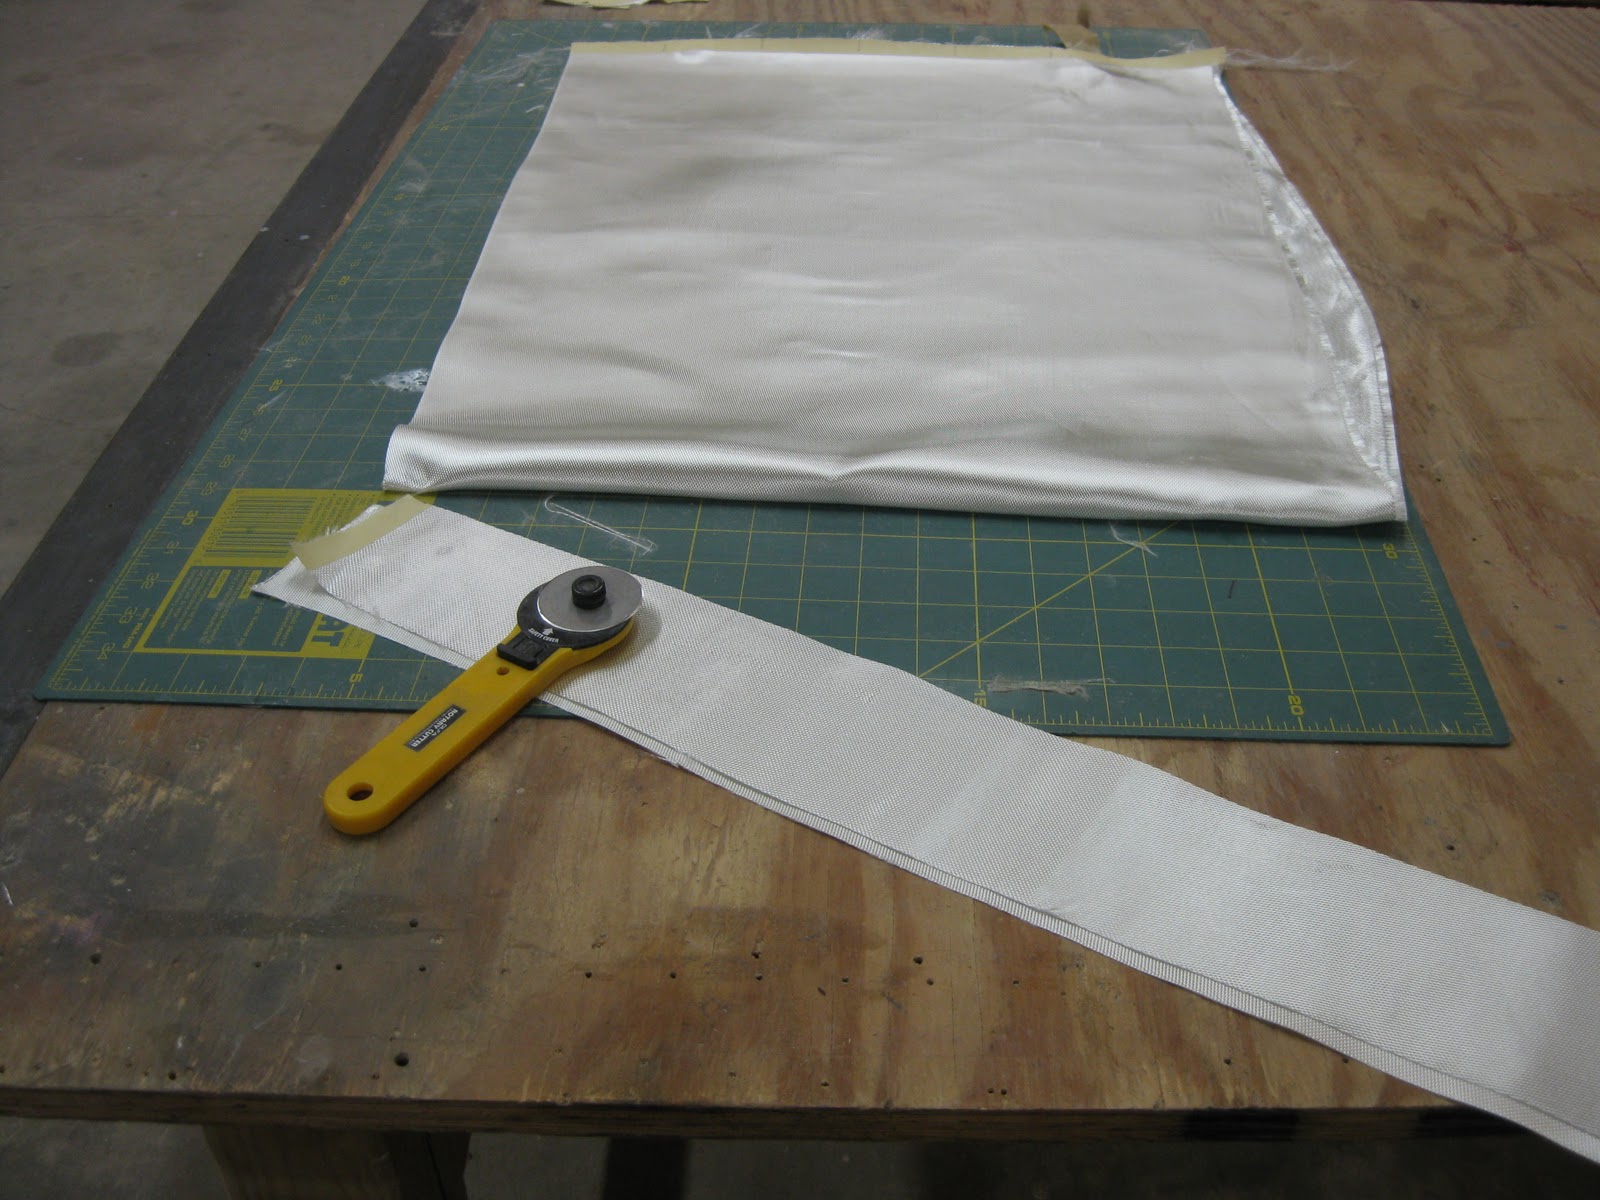
Man fabric is rough on rotary cutter blades!


Now, I need to glass the entire outside of the project.  I had to flip it upside down again.
Next, I laid the fabric on the bottom panel to cut it to size.  I ended up cutting it down so that it had about 6 inches of overhang on all sides.
Then, I used a paint roller to spread epoxy resin to the bottom panel.

I laid the fabric right into the wet epoxy and then rolled on another coat on top.

Here's the result.

I was going to lay the side glass at the same time, but the bottom panel kept moving every time I touched it. So, I decided to let the bottom dry and then add the sides tomorrow.

Now, I know that Christmas is over, but if anyone is thinking of getting me a belated Christmas present, I have an idea!  Available at West Marine:~)

Tuesday, December 28, 2010

Looks like a boat, but there's a lotta work left to do

Well, its looking pretty good, but there's still a lot to do.  I did some sanding on the exterior seams and flipped the frame to start on the inside. 
I installed the motor support T on the transom.  I used exterior grade wood back there (it's green) just because that's all I had "in stock".


It's good to be inside when it looks like this outside...

I've ordered the fiberglass fabric to sheath the outside of the hull and fiberglass tape to cover all the seams on the inside.  I still need to run to Lowe's home and marine supply to find something to use for the gunwales (top of the sides).  More to come, stay tuned.

Sunday, December 26, 2010

It's MAN Fabric Okay?

There has been some confusion.  Since Lori posted the link to this blog on her Facebook account, some folks seem to think she's building a boat.  While she is more than capable, she prefers working with fabric and building custom quilts.  I don't work with fabric, cause it's not a manly pursuit.  We're building boats here!

Now that we've got that straight, let's get back to boat building.  Today, we're fiberglassing the seams.  We start by cutting our fabric.  Wait a minute.  That can't be right.  I mean, this is different.  We use a rotary cutter and a rotary mat and...  Wait, wait, sounds just like Lori's quilting project.  But, this is MAN fabric!  No flowers or paisley print, just good ole fashion fiberglass fabric.   It's manly, really.

   Okay, so yesterday, my arrow slinging, squirrel killing, doctor friend came over and we used an interesting technique to pull the side and bilge panels together to minimize the gaps.  We drilled holes in the upper and lower panels and pulled them together with copper wire.  We literally stripped the wire from household electrical wiring. 

From this point, I got underneath the boat and put resin and cotton flox into the seam.  This basically glued the seams together.  Then, I pulled the copper out and removed the tape.  Then,sanded the seams on the outside.  Next, I used the same resin and cotton flox mixture on the outside.  Then, I laid fiberglass fabric strips right into the flox mix.  I put another fabric called peel ply on top of the fiberglass. And yes, It's a MAN fabric too!  It helps smooth the seam and once everything is dry, you peel it right off and it looks much better.

I had to cut the ends of the bilge panels before laying the fiberglass on the transom.

Tomorrow, we flip the boat and start on the inside.  Looks like I started this "winter project" just in time.  Here's shot out the back door looking toward the shop.  A little chilly out there!