Tuesday, December 28, 2010

Looks like a boat, but there's a lotta work left to do

Well, its looking pretty good, but there's still a lot to do.  I did some sanding on the exterior seams and flipped the frame to start on the inside. 
I installed the motor support T on the transom.  I used exterior grade wood back there (it's green) just because that's all I had "in stock".


It's good to be inside when it looks like this outside...

I've ordered the fiberglass fabric to sheath the outside of the hull and fiberglass tape to cover all the seams on the inside.  I still need to run to Lowe's home and marine supply to find something to use for the gunwales (top of the sides).  More to come, stay tuned.

Sunday, December 26, 2010

It's MAN Fabric Okay?

There has been some confusion.  Since Lori posted the link to this blog on her Facebook account, some folks seem to think she's building a boat.  While she is more than capable, she prefers working with fabric and building custom quilts.  I don't work with fabric, cause it's not a manly pursuit.  We're building boats here!

Now that we've got that straight, let's get back to boat building.  Today, we're fiberglassing the seams.  We start by cutting our fabric.  Wait a minute.  That can't be right.  I mean, this is different.  We use a rotary cutter and a rotary mat and...  Wait, wait, sounds just like Lori's quilting project.  But, this is MAN fabric!  No flowers or paisley print, just good ole fashion fiberglass fabric.   It's manly, really.

   Okay, so yesterday, my arrow slinging, squirrel killing, doctor friend came over and we used an interesting technique to pull the side and bilge panels together to minimize the gaps.  We drilled holes in the upper and lower panels and pulled them together with copper wire.  We literally stripped the wire from household electrical wiring. 

From this point, I got underneath the boat and put resin and cotton flox into the seam.  This basically glued the seams together.  Then, I pulled the copper out and removed the tape.  Then,sanded the seams on the outside.  Next, I used the same resin and cotton flox mixture on the outside.  Then, I laid fiberglass fabric strips right into the flox mix.  I put another fabric called peel ply on top of the fiberglass. And yes, It's a MAN fabric too!  It helps smooth the seam and once everything is dry, you peel it right off and it looks much better.

I had to cut the ends of the bilge panels before laying the fiberglass on the transom.

Tomorrow, we flip the boat and start on the inside.  Looks like I started this "winter project" just in time.  Here's shot out the back door looking toward the shop.  A little chilly out there!


Thursday, December 23, 2010

An insomniac's dream

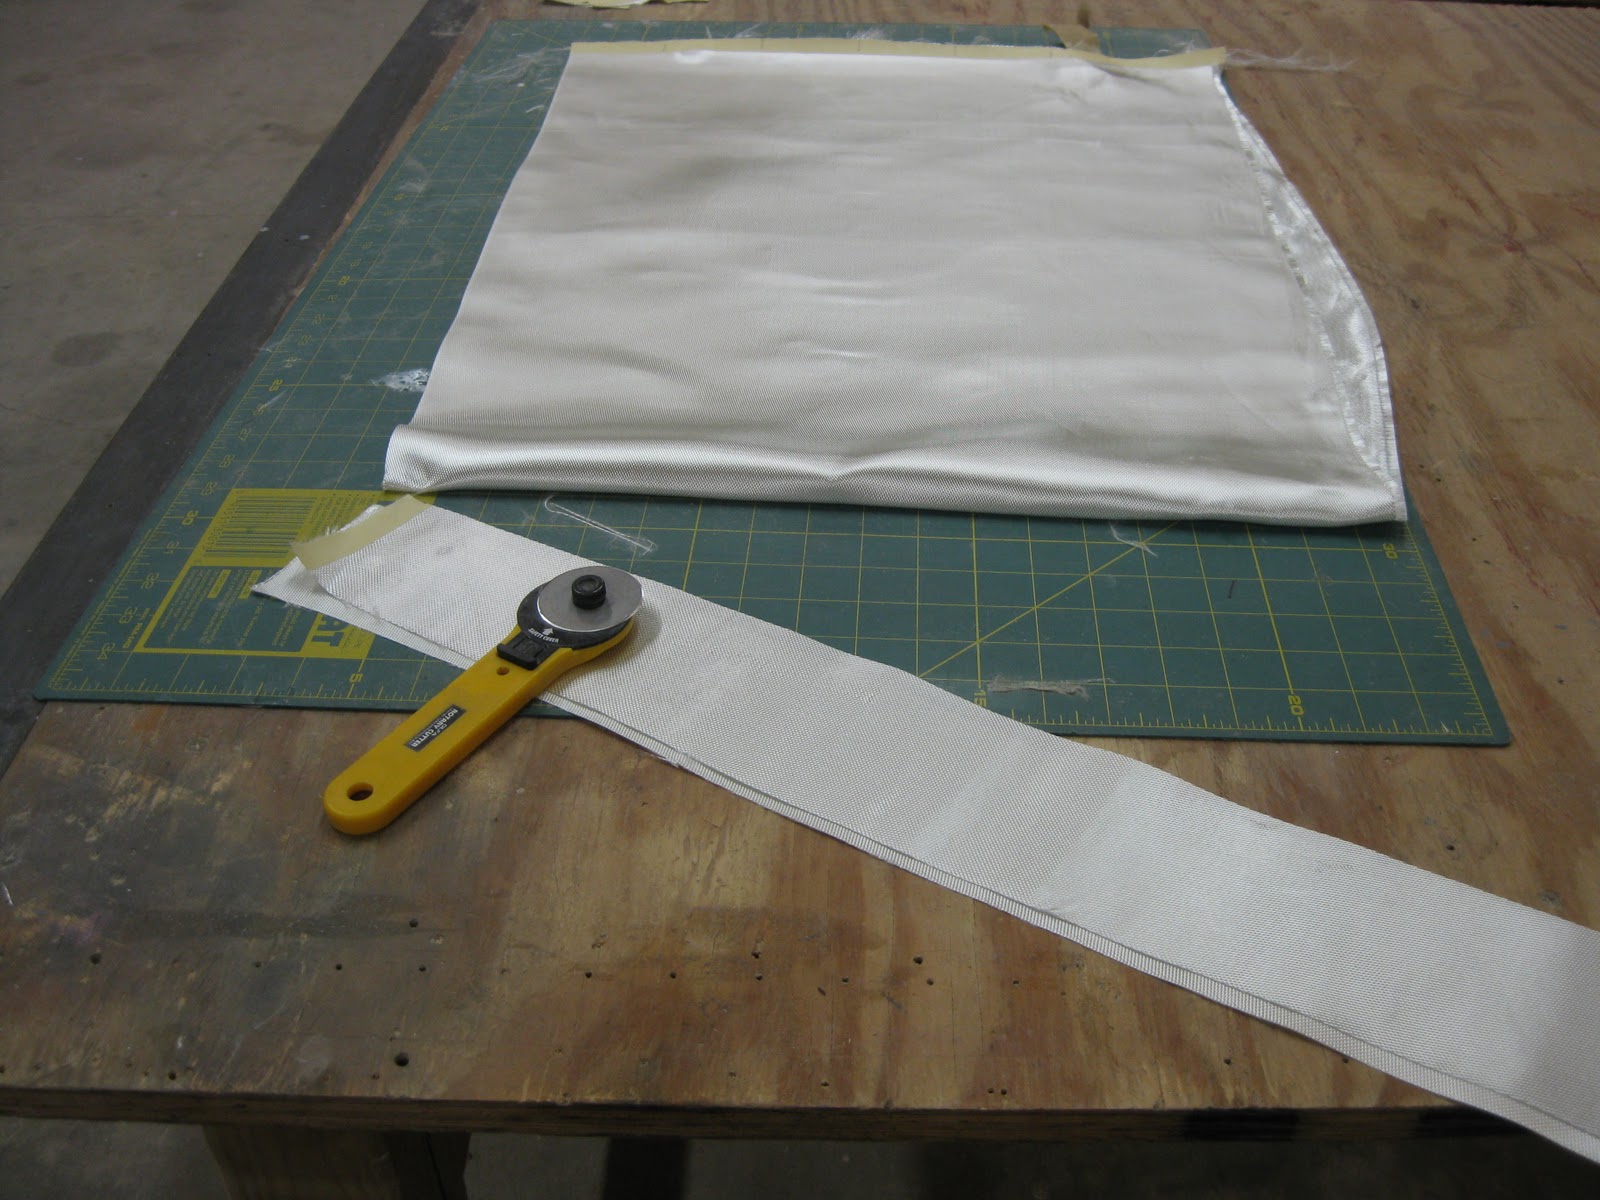
Get it?  Insomniac...  Dream...  A play on words maybe.  Okay, it was lame.  Seriouly, last night, I woke up at 1:00 A.M. and couldn't go back to sleep.  What to do?  Work on the boat of course.  So, I went to the shop and put one layer of fiberglass on each side, bilge and bottom panel to make them stiffer at the splice. 

After catching a few winks, I went back out and started assembly.  Step one:  Tack the side panels to the transom.  It wasn't too bad.  In fact, it was so easy that I decided to do it again.  Okay, I put them on backwards the first time, but I was just practicing, wink.


Next I built little stands to hold each of the frame molds. 
Then, I lined up each frame between the side panels.

Then, I added the bottom panel.

Then I installed the stem.  You've heard the phrase, "From stem to stern."?  Well its the curved thing up front.


At this point I had to have back-up.  Lori, Maggie and Colton helped me lift the transom and side panels into position.


Next, the bilge panels...

Now, don't worry about those little holes down the entire length of the boat.  I'm going to have a nice coffee can to bail water with:~)  Ha!  Seriously, the panel didn't fit so hot the first time and I couldn't figure it out.  I had installed the second frame mold in the wrong location.  Once I swapped that around, everything fit a little better.  But, it still doesn't want to go right into place. 

At the end of the day I decided to just tack the bilge panels into place and leave them overnight.  My brother-in-law once told me that guitars don't know they are no longer trees until they've been playing music a while.  So, I'm hoping that sometime during the night this pile of wood will realize that it's going to be a boat! 

Wednesday, December 22, 2010

Ninja Squirrels

Fact:  I have ninja squirrels behind my shop.  No really!  I put a camera behind the shop and put a monitor inside.  So, I put corn out there and watch those little buggers launch themselves at one another.  They literally flip through the air as they attack their arch nemesis.  It's great comic relief while boat building.  If you look carefully you can see a squirrel on the screen.


So, now I know what you're thinking...  That looks like a housecat.  Yep.  It is!  She stayed there and ate corn for a solid 20 minutes.  Hunting ninja squirrels must not be her gig.

Where were we?  Oh yeah, boat building.  O.K., all of the dimensions for the project come from a single page in the book.  Seriously small print and I'm getting older, I can tell because my arms are getting shorter and there is never enough light.  But, I think I've got all of the pieces except the seats cut out. 


I finished cutting out the other bilge and side panels and glued the ah, ah, well the butt splices.  I put heavy stuff on top to hold pressure while the glue dried.  I also cut out the stem, but I didn't get a picture of it.   


Tomorrow I will be putting resin and a layer of fiberglass on the side and bottom panels.  Then, more waiting for stuff to dry.  By the way, you remember the "Shop Truth" from yesterday?  You know, the right tool is never the one that's plugged in?  Well, fixed it!  Oh yeah!  TTFN


Tuesday, December 21, 2010

Day 2 of the Boat Building Business

Random Thought:  I was watching the Military Channel a little while ago and they were interviewing a Kamikaze pilot that was about 85 or 90 years old.  He must have really sucked at his job.  But, I bet he's glad he wasn't good at it now.  Just a thought.

So, today was busy with laying out and marking the bottom, side and bilge panels.  I only got the bottom and one side completed.  But, now I'll flip them over to mark the other side.  You simply transfer the measurements from the edge of the plywood and lay everything out.  Then, you drive nails at each measurement and use something flexible enough to bend around all of the nails to mark the line.  You pull the nails and cut on the line.  


You have to add a strip of plywood to join the two pieces together.  This is called a butt splice.  Yes, John Wooley, it's actually called that, I didn't make it up!  Anyway, add a few bronze nails and a little glue and that's another piece ready to install. 
The other task for today was to cut reliefs into the molds where the side and bilge panels will meet.  I need to be able to join the panels together with fiberglass tape from the inside.  The only way to make a solid piece all the way down is to cut these little reliefs.  First, I marked everything and then drilled holes in the corners with a step drill.  I followed up with the sabre saw then finished sanding to make everthing smooth.


While working in the shop tonight I realized some essential truths.  First, no matter which tool you need it is NOT the one plugged in!  Two, if you're feeling pretty good a about a particular piece, you're probably do it wrong.  But, I do know what helps...

I know what you're thinking.  That's not good for you, right?  Not so.  In fact, my doctor has prescribed one acoholic beverage per day.  I know this is hard to believe, but he actually gave me a six pack of Killian's because he's so worried about my health.  Seriously, do I have an awesome doctor or what?  Maybe if I only drink one a day I'll keep all my fingers, still remains to be seen. 

Monday, December 20, 2010

Boat Building 101

Well, I decided I needed a boat and a winter project.  So...  I'm building a boat and I'm going to blog about it.  It's all Lori's fault really.  She bought a book for me called "Build the New Instant Boats" by Harold Payson.  The boat I've settled on is called the Diablo.  It's a 15 1/2 ft. boat that is made of plywood and covered with fiberglass.  It should be good for some fishing and camping trips I have in mind.  I think it'll be fun to build the boat and keep a log of all the progress.  So far, I've got the plywood (1 piece of 3/4, 2 pieces of 1/2 inch, and 4 pieces of 1/4 inch). And, I've even cut some of the pieces out.  Lori and I went to Bayboro today and picked up some bronze nails, stainless steel screws, fiberglass resin and quilting fabric.  O.K. the quilting fabric isn't for the boat, but what are you going to do when you drive RIGHT by a quilt shop?